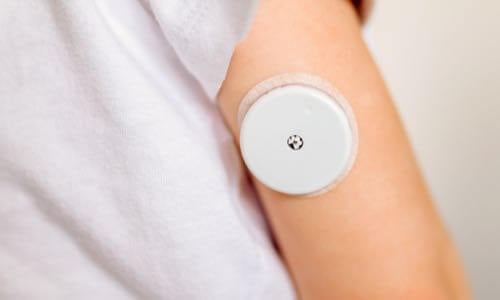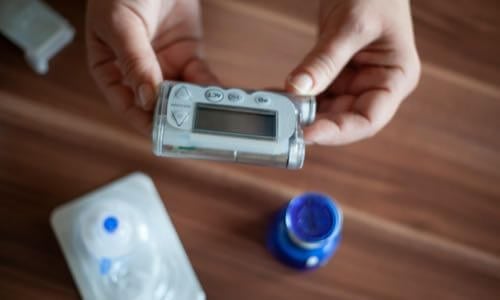
View current insulin pumps, smart pens and more from a variety of manufacturers. Compare features and technical specifications and find training resources, affordability information, prescription details and more.
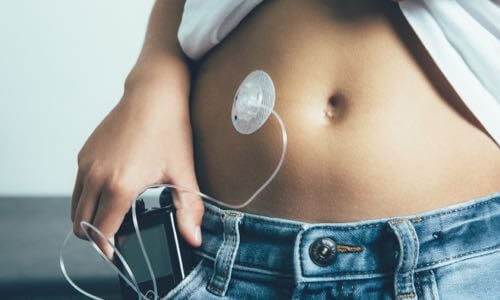
View features and specifications of popular infusion sets to determine the best option for your patients and clients.
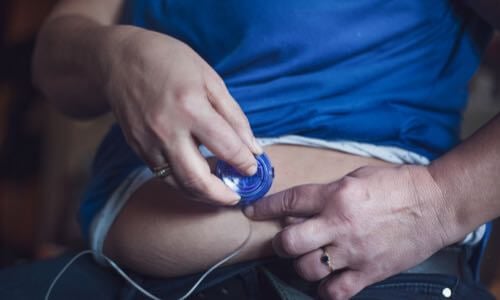
Open-source AID systems like Loop, AndroidAPS, and Trio combine pumps, CGMs, and smartphone apps to deliver customizable insulin automation. This section explains how they work, their unique features, safety considerations, and how clinicians can support patients using these evolving tools.
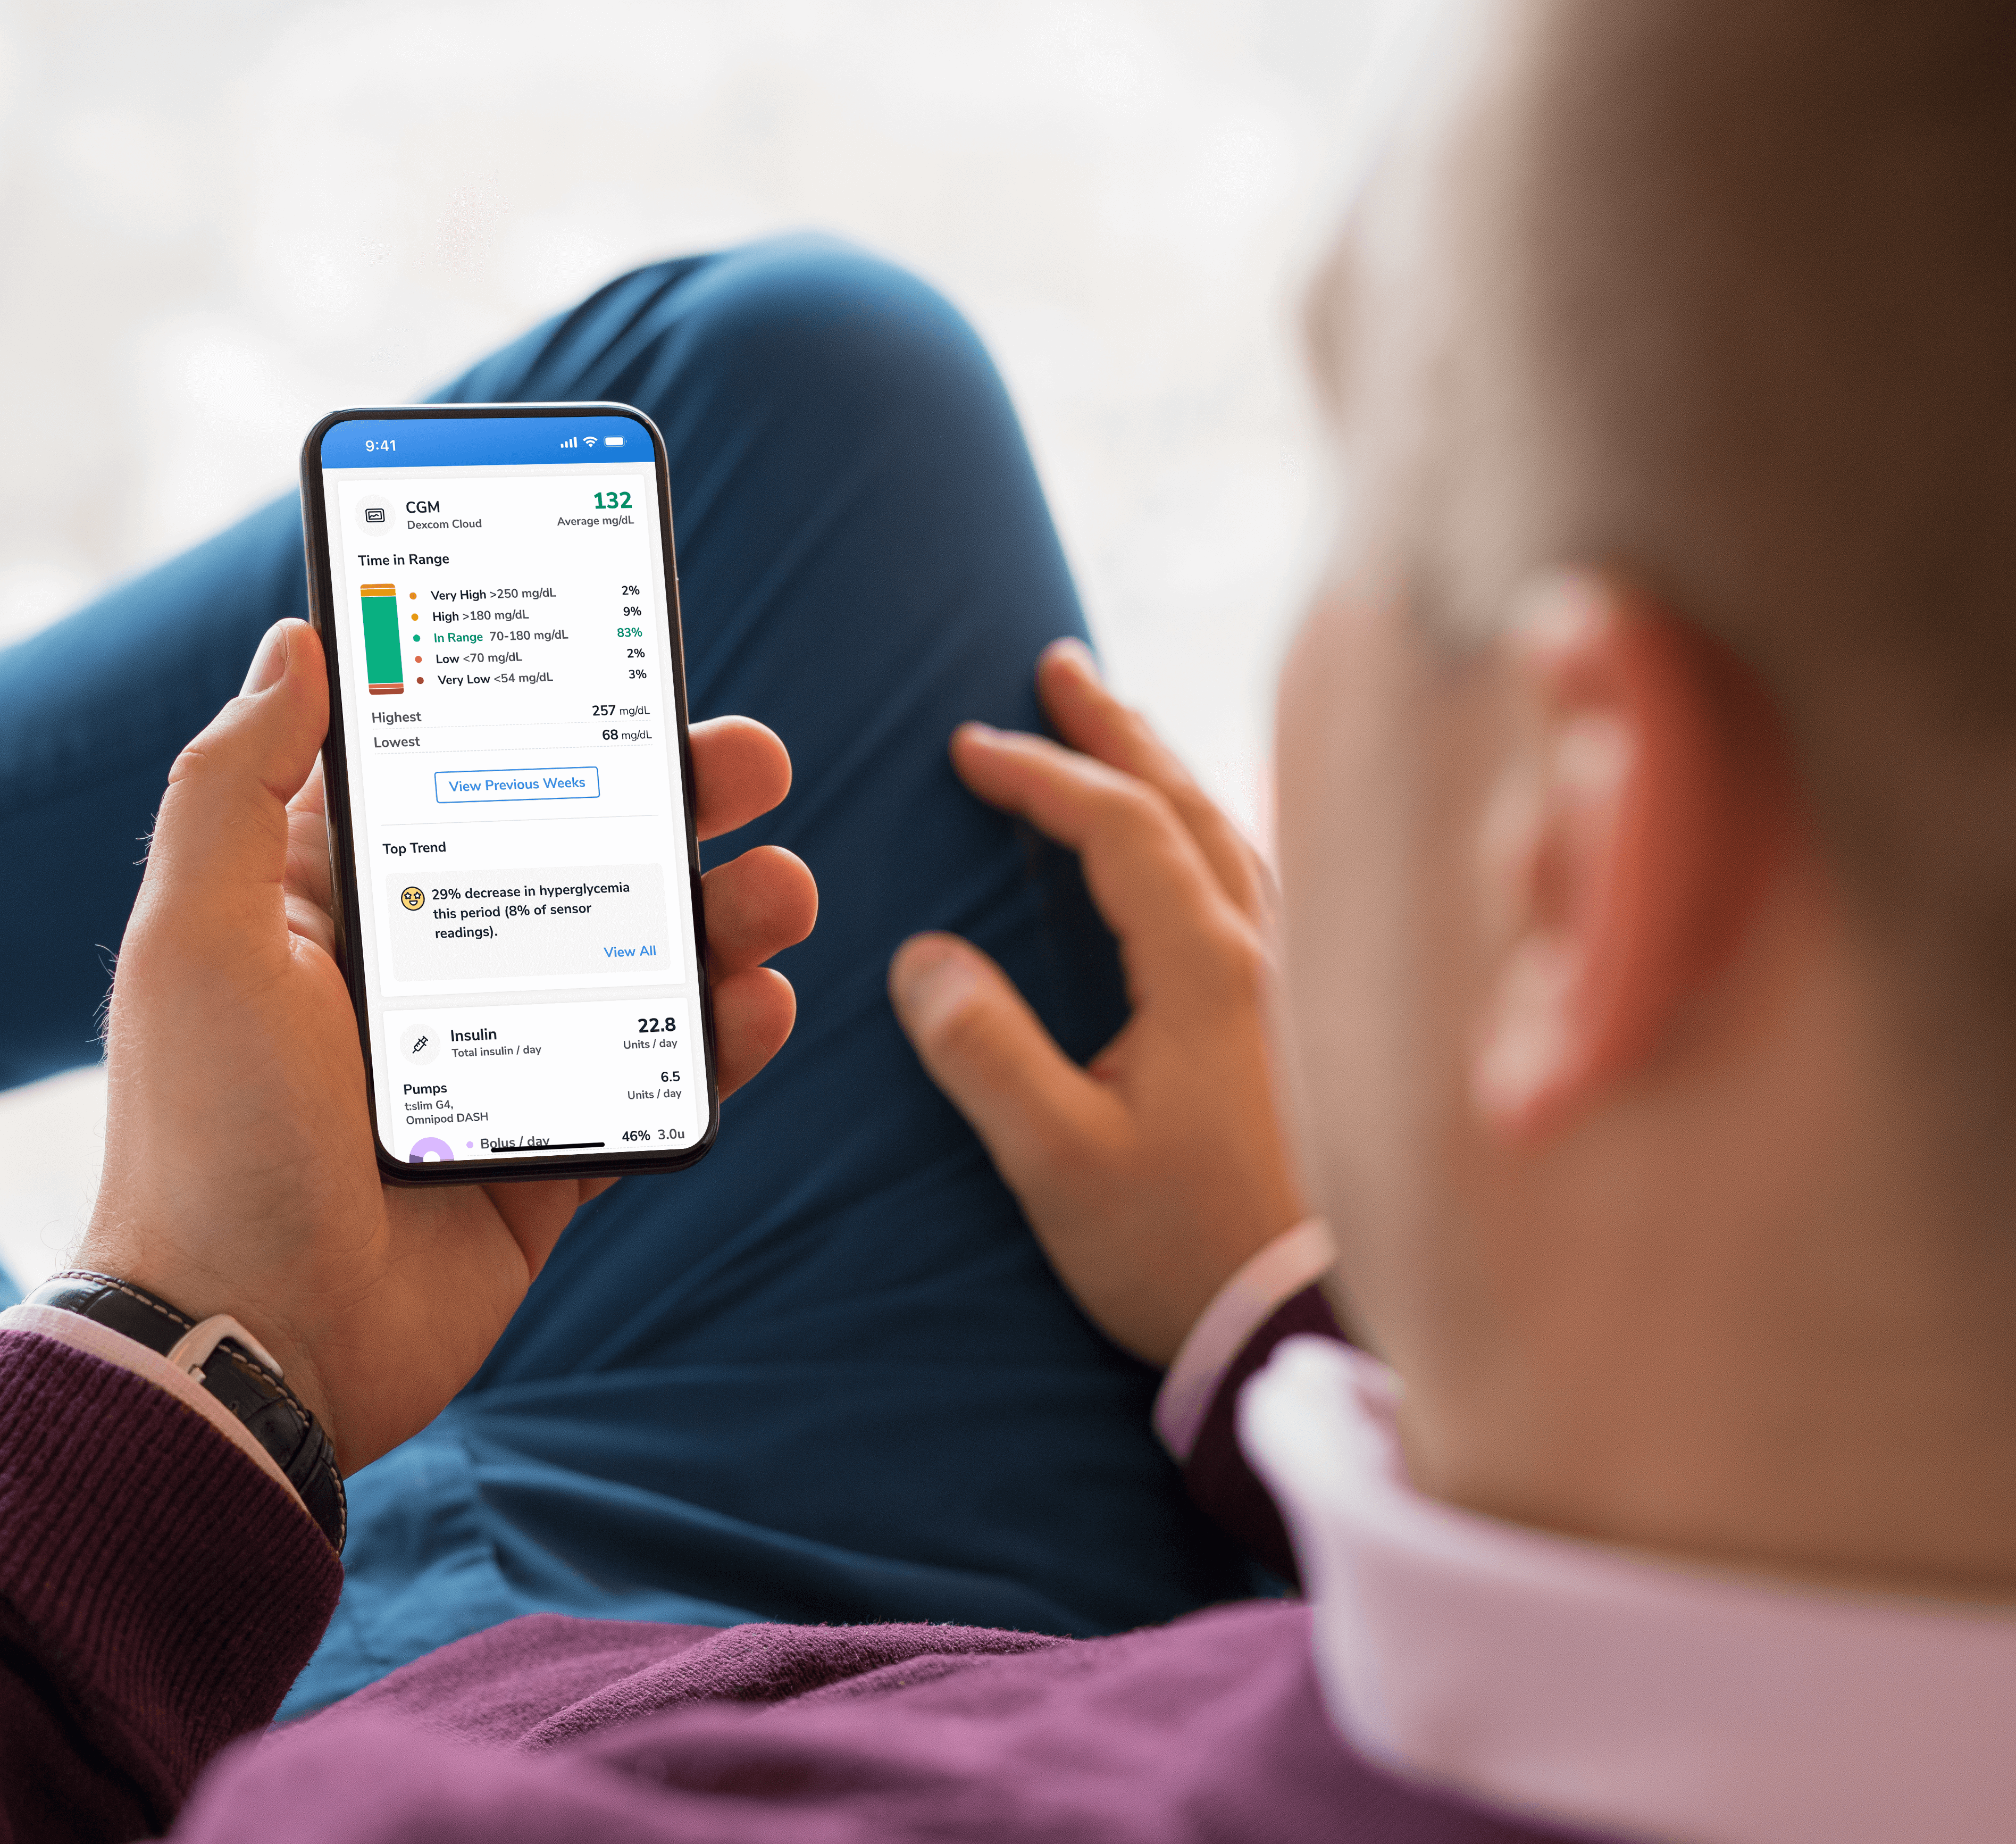
Find a sample of the latest online apps and digital platforms designed to prevent, manage and/or treat diabetes. We highlight apps and DTx for people with diabetes as well as the professionals treating them.

An overview of Glycemic Management Platforms that answers key questions including: What are they? What to consider? How can my inpatient facility benefit and more.
Are prior authorizations delaying patient care? Is your team overwhelmed by manual workflows? These platforms might help.
Find diabetes certificate programs, online learning opportunities, webinars, device training, practical tools and more. All resources are developed for diabetes healthcare professionals by diabetes healthcare professionals.

Find a variety of podcasts and videos focused on the latest topics in diabetes technology specifically created for diabetes healthcare professionals.
Danatech device trainings introduce healthcare professionals to the latest diabetes technology including the newest CGMs, automated insulin delivery devices, smart pens and more. Trainings include overviews, training specifics, FAQs and more.

The danatech Tool & Resource Directory gathers every clinician tool in one place, from product comparisons and affordability finders to point-of-care PANTHER forms and step-by-step workflows for CGM and AID. Users can filter by focus area and role to find what fits their practice.
Diabetes Technology Conference
The only event designed by and for the care team focused on using technology in practice to improve outcomes for people with diabetes.
Bring Our Curriculum to Your Students
Prepare future healthcare providers for modern diabetes care with danatech’s practical curriculum on CGM, insulin delivery, AID, and patient-centered communication.
Several automated insulin delivery (AID) manufacturers offer free digital demos that let clinicians and people with diabetes explore selected screens and workflows without connecting to a working insulin pump. Learn more.
Help tackle cardiovascular issues by equipping yourself with the knowledge to reduce cardiometabolic risk and combat the development of cardiometabolic diseases with specialized education and resources from danatech.
Whether you’re a healthcare professional seeking to enhance your expertise or someone passionate about making a significant impact in the lives of those affected by diabetes, this guide will help you navigate the path to becoming a CDCES.

Get a plain-language read on where the diabetes tech field is heading, why it matters for the people you support and the specific technology we're tracking
Recent diabetes technology innovations, product launches and enhancements as well as clinical perspectives regarding diabetes care.

Make your voice heard on Capitol Hill by sending messages to your members of Congress on critical issues that affect diabetes care and education. You can also track federal diabetes legislation to see which members have signed on to support the bill and whether there have been any relevant votes.

Coordinate clinical selection, access, prescription, fulfillment, training and follow-up with the person and care team.
Adult not using insulin, with no need for alerts or device integration? Use the OTC workflow
A saved checklist was restored. Confirm it applies to the current person, or start a new checklist.
Clear this workflow’s checks, N/A selections and decision? This also removes its saved checklist from this browser.
Checked = completed; N/A = not applicable. Completion records selected checks, not clinical readiness.
Match the prescribed system to clinical needs and preferences. Keep the choice provisional until access and ongoing costs are confirmed.
Use shared decision-making to understand what the person wants from continuous glucose monitoring (CGM), what matters in daily use, and what could make continued use difficult.
Review the factors that determine clinical suitability. Insurance eligibility is a separate question and does not establish whether a product is appropriate.
Build a short list using clinical needs, current product labeling, desired capabilities, and personal preferences. Having a connected pen does not itself require a particular CGM; compatibility matters when integration with that pen’s software is intended.
Confirm how the prescription CGM will be obtained. Insurance eligibility is separate from clinical suitability; an Rx device still requires a prescription when self-paid.
Record the access plan using the choice above the checklist. If it changes, review earlier checks and the final product selection.
Check the technical requirements for the provisional choice. A compatible dedicated reader may be an option for some systems; a smartphone is not a universal requirement.
Record the preferred option and required supplies. Confirm the final product with the person after benefit verification and initial and ongoing costs are known.
Verify benefits when using insurance, confirm the final product and cost, and complete the prescription and supporting documentation. Self-pay stays within this prescription workflow.
Separate the benefit category from the dispensing location. A pharmacy or supplier may dispense a product, while an implantable system may also require a separately covered insertion service.
An Rx device requires a prescription even when insurance is not being used. Finalize self-pay or assistance costs with the person before ordering.
Keep supporting clinical documentation distinct from additional payer or supplier forms. The Centers for Medicare & Medicaid Services (CMS) eliminated Certificates of Medical Necessity (CMNs) and DME Information Forms (DIFs) for dates of service from January 1, 2023, but supporting medical-necessity documentation is still required. A supplier form does not replace the clinical record.
Confirm whether prior authorization (PA) is required. If not, mark only the PA tasks N/A. Keep the access-resolution checkpoint active. For self-pay or assistance barriers, use the same approach with the relevant supplier or program.
For additional help, use the danatech Prior Authorization guide (opens in a new tab) and Affordability Program Finder (opens in a new tab). Record patient-specific details and handoffs in the clinical record; this tool does not transmit them to other team members.
Confirm the device is available, arrange appropriate training, and agree on follow-up and support. Tailor the start process to the person and device.
Arrange training with a healthcare professional who is trained in the device and working within local scope and protocols. For an implantable system, also arrange insertion with an appropriately trained clinician.
Use device-specific instructions and teach-back. Before ending the start session, confirm that the person or chosen care partner can use the system and explain the agreed response and backup plans.
Use the danatech CGM Training Topic Checklist (opens in a new tab) for a fuller list of training topics.
Record the access plan above the checklist, expand a step, and check work as it’s completed. Conditional tasks can be marked N/A; essential tasks can’t be excluded. A check records your confirmation of work; it doesn’t verify clinical readiness or replace the clinical record.
Roles are examples, not staffing requirements. Assign a lead locally; one person may cover several roles. A diabetes care and education specialist (DCES) or another appropriately trained healthcare professional can support education. Practice support staff and coordinators may manage logistics within local policies; prescribing, clinical decisions and education require appropriate scope and competence.
Saving is off by default; without it, progress clears on reload. Saving is separate for each workflow, stays on this browser, and doesn’t sync or hand work to another team member. Printing expands every applicable step. Use the clinical record for patient information, assignments and deadlines.
Scope. For outpatient initiation of personal prescription continuous glucose monitoring (CGM), including self-pay and implantable systems. Not for inpatient or professional (blinded) CGM.
Abbreviations: A1C, hemoglobin A1C; AID, automated insulin delivery; CGM, continuous glucose monitoring; DCES, diabetes care and education specialist; DME, durable medical equipment; OTC, over the counter; PA, prior authorization.
Use current product labeling, clinical judgment and applicable local protocols. Record patient-specific decisions, assignments and follow-up in the clinical record. Product labeling and payer requirements can change.
Spotted something? Have a better way? We're listening.
We do our best to keep every tool page accurate, current, and actually useful — but we're human, and this space moves fast. If something's off, outdated, or you know a better way, we genuinely want to hear it. No suggestion is too small.
What are you sharing?DISCLAIMERS:
This site and its services do not constitute the practice of medical advice, diagnosis or treatment. Always talk to your diabetes care and education specialist or health care provider for diagnosis and treatment, including your specific medical needs. If you have or suspect that you have a medical problem or condition, please contact a qualified health care professional immediately. To find a diabetes care and education specialist near you, visit the ADCES finder tool.
ADCES and danatech curate product specifics and periodically review them for accuracy and relevance. As a result, the information may or may not be the most recent. We recommend visiting the manufacturer's website for the latest details if you have any questions.





danatech, powered by ADCES, helps the whole care team choose, start, use and support diabetes technology with confidence.